

See Update at End of Article
This was a fun one-off project from 50 Projects in 50 Days and provides a useful little utility, too.
There's not a lot going on under the hood here but there was a new (to me) concept and a neat toolbox-style trick I thought I'd share.
First off, this was my first time using the JavaScript event listener keydown (read all the way on that help article; HTML and and the JS addEventListener() method disagree on what this event is called - in HTML it's 'onkeydown,' if you're using addEventListener() like in this project, it's just 'keydown').
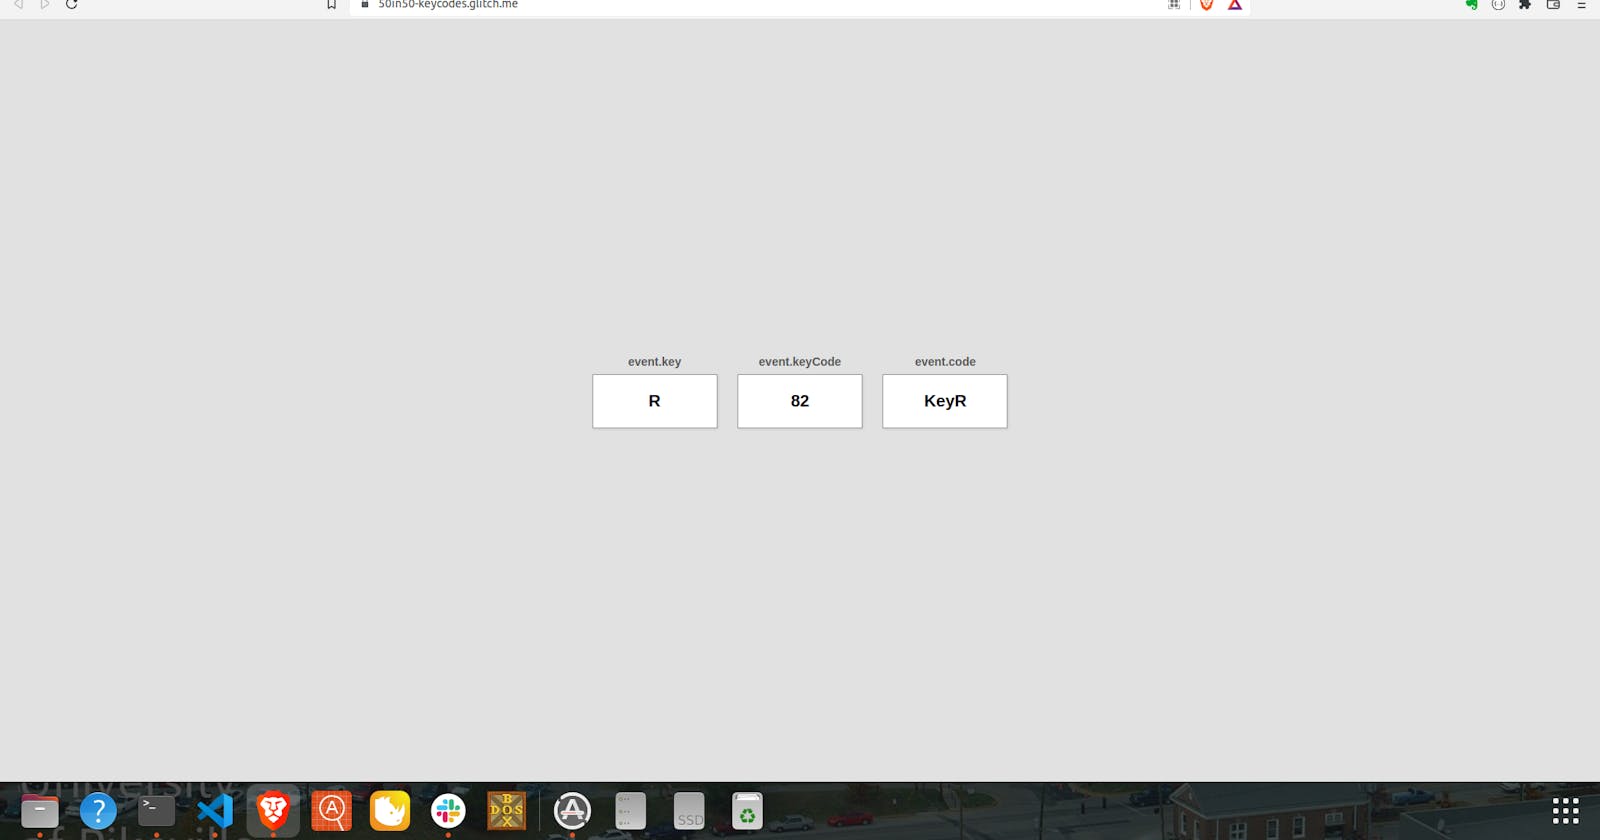
Keydown returns quite a bit of information regarding the key that was pressed, and this information can be handy to know for other programming tasks. Each key on the keyboard has its own unique identifying code along with other associated information that lets programmers monitor for input. Rather than reinvent the wheel in this post, I'm going to link to an awesome overview article by Tapas Adhikary over at www.FreeCodeCamp.org. The little utility created in this project returns some of that information for a key press.
The second thing I wanted to touch on was a methodology regarding the .innerHTML property. I have used it before in other projects, and I will readily confess that often (unless the task at hand is pretty simple) I have to do a bit of trial and error to get things to look just right. What the instructor did for this project, however, was to hard-code the dynamic portion of the HTML first and get it styled properly, and then cut-and-paste that section of the markup into the JavaScript code that inserts HTML back into the DOM:
window.addEventListener("keydown", (e) => {
  insert.innerHTML = `
      <div class="key">
        ${e.key === ' ' ? 'Space' : e.key}
        <small>event.key</small>
      </div>
      <div class="key">
        ${e.keyCode}
        <small>event.keyCode</small>
      </div>
      <div class="key">
        ${e.code}
        <small>event.code</small>
      </div>
  `
})
It's a neat tip to remember for later projects.
Update
A user reported back that this page didn't perform as expected. After some testing, I had to agree that it's at best confusing, if not altogether incorrect. The project as originally written returns the keyCode property of the key that is pressed; that particular code is tied to the physical keyboard key, and not the character associated with it. In other words, "/" and "?" both have the same keyCode, since "?" is simply "Shift" + "/". So my user was expecting to see a different code based, entirely logically, on the fact that the characters are different.
To make that happen, I needed to add a fourth information box containing the Unicode value for the character. This turned out to be surprisingly convoluted.
There used to be a property called charCode that returned the Unicode for a keypress, but that ended up being deprecated due to non-standard implementation across the various browser platforms. To make up for the lost functionality, a JS method called charCodeAt() was introduced. It works on a string and returns the character code (in decimal Unicode) of the character at the specified position within the string. For this project, I simply declared a string variable and set it equal to the character associated with the keypress, then determined the Unicode value by invoking the charCodeAt() method on my one-character string with an index of 0:
<div class="key">
  ${inkeystring.charCodeAt(0)}
  <small>Unicode (Decimal)</small>
</div>
So now a keypress returns the keyCode information as in the original, along with the added functionality of the Unicode for the actual character pressed.